Article
First-week plan after buying a standing desk

Day-one enthusiasm is the most common standing-desk failure pattern. People stand for hours on Monday, wake up sore on Tuesday, and then avoid the desk for a week. Treat the first seven days like a training plan with short blocks, clear stop rules, and a Friday checkpoint.
This guide gives a progressive first-week schedule for new sit/stand desks. It is practical setup and habit guidance, not medical advice. If you notice sharp pain, numbness, or dizziness, sit more and talk with a qualified clinician.
At a glance
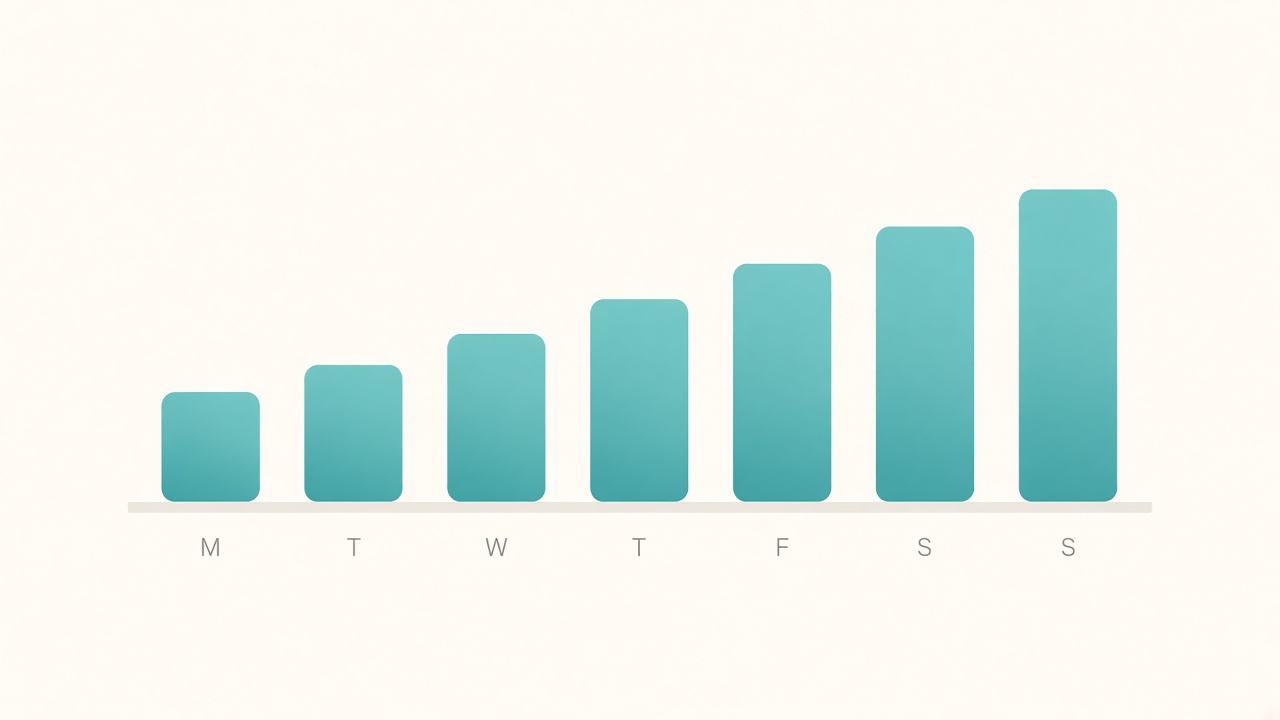
Ramp stand time across the first seven days.
Why week one needs a plan
A standing desk changes load across feet, calves, hips, and lower back. Those tissues adapt better to repeated short exposures than to one long heroic session. Without a plan, most people either overstand on day one or never build a repeatable rotation.
Week one has three jobs. You confirm desk height for typing, you learn which tasks feel natural while standing, and you prove that sit/stand swaps can happen without friction from cables, chair path, or footwear.
Success is not maximum standing minutes. Success is finishing Friday still willing to stand again next week.
Set height and stance before you chase minutes
Before you expand standing time, lock a usable standing geometry. With shoulders relaxed, set desk height so elbows stay near your sides and forearms sit roughly parallel to the floor at the keyboard. Place the top of the useful screen area near eye level so you are not craning or tucking your chin for an entire block.
Keep knees soft, allow small weight shifts, and wear supportive shoes or stand on an anti-fatigue mat if your floor is hard. If adding a mat makes the desk feel low, raise the desk one notch and re-check elbows.
Also verify cable slack through full desk travel on day one. A yanked dongle mid-call teaches people to leave the desk down, which quietly kills the habit.
Day-by-day template
Days 1–2: short orientation blocks
Stand for ten to fifteen minutes near the top of each work hour, and cap total standing near sixty to ninety minutes for the day. Use those blocks for easy tasks: inbox triage, standups, light browsing, and ticket grooming.
Sit for deep writing, careful coding, or any work that makes you lean into the screen. The goal is clean form, not endurance.
Days 3–4: slightly longer cycles
If mornings feel fine and feet recover overnight, extend stand blocks to fifteen to twenty minutes. Keep the same soft-knee stance and the same easy-task pairing. Do not add afternoon marathons yet.
If a stand block ends with shrugged shoulders or locked knees, shorten the next block rather than pushing through declining form.
Days 5–7: toward a gentle pattern
If recovery still looks good, move toward a mild forty-five minutes sitting and fifteen minutes standing pattern for parts of the day. Keep a daily standing cap that still feels ordinary. Many beginners do well near ninety to one hundred twenty minutes total by the end of week one, but the exact number matters less than form quality.
Generate exact blocks with the standing desk schedule builder set to the “New” profile if you want a full-day outline instead of improvising.
Pair standing with easy tasks
Task pairing protects form. Calls, triage, documentation skims, and CI watching are strong standing candidates because they tolerate small movement and do not demand millimeter precision.
Keep deep drafting, dense debugging, and careful design seated until your legs stop complaining about basic posture. Switching by task quality is more sustainable than switching only when a timer scolds you, though timers remain useful while the habit is new.
When a meeting ends, decide deliberately whether the next artifact belongs in a stand block or a sit block. That one decision prevents “I am already standing, so I will just keep going” drift.
Recovery rules for week one
Treat overnight recovery as feedback, not as a scoreboard. Mild muscle fatigue that fades by morning usually means you can proceed carefully with the planned progression.
Sit more and reset height or footwear if discomfort sharpens, includes numbness, or keeps rising after you change shoes or mat. Swollen feet at night are a signal to shorten stands and re-check the mat-and-shoe pairing rather than a reason to abandon the desk entirely.
Do not use pain as proof of progress. Week one is for learning signals early, while blocks are still short enough to adjust.
Friction fixes that keep the habit alive
Most abandoned standing desks fail for logistical reasons. The chair cannot roll because the mat blocks it. The keyboard cable is too short. Shoes are across the room. The desk controller is awkward to reach.
Spend ten minutes midweek removing those frictions. Park the mat so the chair path stays clear when you sit. Add a sticky note with sitting and standing heights. Keep your stand shoes next to the desk. Practice the sit-to-stand swap until it takes under thirty seconds.
A habit that costs attention will lose to calendar pressure. A habit that is mechanically easy survives busy afternoons.
End-of-week checkpoint
On Friday, answer four questions in writing. Did stand blocks stay short enough that form remained stable? Did feet and legs recover overnight most days? Did at least one deep-work task stay seated on purpose? Did cable and chair friction stay low enough that swapping felt ordinary?
If you can finish Friday without dreading the next stand block, increase total standing time slowly next week. Add minutes in small steps rather than doubling overnight. Consistency beats heroic day-one totals.
If Friday feels like relief that standing is over, cut total standing time next week and rebuild from the day-one template. The desk is not a debt you must repay with more upright hours.
A simple logging method
Keep a one-line log after each stand block for seven days: time standing, task type, and one note about feet, shoulders, or focus. Patterns appear quickly. Afternoon stands may need to be shorter than morning stands. Shoe days may outperform sock days. Review blocks may suit standing better than coding blocks.
That log also prevents vague conclusions like “standing desks are not for me” when the real issue was one oversized Monday session.
Checklist
- Standing typing height and monitor height checked on day one
- Cable slack verified through full desk travel
- Days 1–2 capped near 60–90 minutes total standing
- Stand blocks paired with easy tasks first
- Soft knees, supportive shoes or mat, and clear chair path set
- Days 3–4 extended only if overnight recovery felt fine
- Days 5–7 moved toward short sit/stand cycles without all-day standing
- Midweek friction fixes completed for mat, cables, and footwear
- Friday checkpoint written before increasing next week’s volume
FAQ
Can I stand longer on day one if I already feel fine?
Keep day one conservative even if you feel fine. Delayed soreness often shows up later. Short blocks teach the swap habit without creating an avoidance spiral.
Should I use the schedule builder in week one?
Yes if you want concrete clock times instead of vague intentions. Use the “New” profile in the standing desk schedule builder and treat the output as a draft you can shorten when form declines.
What if my job is meeting-heavy?
Use meetings as natural stand candidates when camera framing and audio remain solid. Protect seated blocks for the deep work that still needs precision.
Do I need a mat in the first week?
Not always. Shoes and short blocks solve a lot. Add a mat if hard floors create hot spots during your planned stand duration, then re-check desk height.
How do I progress into week two?
Increase one variable at a time: either slightly longer blocks or one extra stand block per day, not both on the same Monday. Keep the Friday checkpoint habit.
Week one succeeds when standing becomes a repeatable option you trust. Pack patience into the schedule, protect form over minutes, and let next week earn its increase.
Related tools: standing desk schedule